The best time to take a soil sample is before you plant your lawn. Contact your county agent, landscaper, or garden center to learn about soil samples. Do not add lime to your soil without a good soil test. Some soils need more lime than others and some are naturally alkaline and need no lime at all.
It is not necessary to delay your planting if your soil tests indicates low or high soil pH (below 6.0 and above 8.0). You can correct the soil pH at time of planting or later with the addition of lime for low pH or sulphur for high pH. Neither one will harm seed or seedling plants.
Tilling and moving the topsoil kills most annual weeds. Certain perennial grassy weeds can be a problem if not controlled in advance. Apply a non-selective herbicide such as Round-Up during periods of active growth. This will typically eliminate even tough perennial weeds. Wait 10-14 days after treatment before disturbing the soil.
Remove all debris from the area to be planted. This includes rocks, bottles, construction debris, and roots. Remove tree stumps. They eventually decay and cause a depression in the lawn. Rotting tree roots are also an excellent food source for mushrooms
If extensive grading is being done, remove the topsoil and replace it after the rough grade is set. The rough grading should conform to the final grade after the topsoil is added. A 1-2 percent slope (1-2 foot of fall per 100 feet) away from all buildings is best.
This is the best time to install drainage if required. Remember, good drainage is a must for perfect lawns.
Once the subgrade is established, return the topsoil to the site. Topsoil should be 6-8 inches deep after it settles. Steep slopes and rocky outcroppings need even more topsoil, up to 12 inches.
If necessary, the existing topsoil should be improved prior to returning it to the site. If organic matter is needed, add 1-3 cubic yards per 1,000 square feet of lawn area. Peat moss, shredded pine bark, and composted organic material work well. For heavy clay soils, add 8-10 cubic yards of sand per 1,000 square feet of lawn. Mix all these materials with the native soil to a depth of 6-8 inches.
If the existing topsoil cannot be salvaged, purchase new soil and spread it 6-8 inches deep over the subgrade.
Rake the site to establish a smooth, level final grade. Soil particles should be no larger than marbles, and pea size is even better. If the surface gets rained on prior to seeding, rake again after drying to break up the crusty surface.
Seed must be applied uniformly to the soil surface. There are three common methods of seeding, gravity (drop) spreader, broadcast spreader, and hydroseeding:
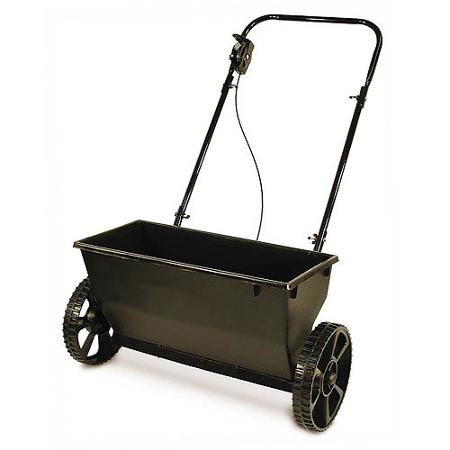
A drop spreader drops seed or fertilizer by gravity directly down between the wheels. You must always cover the area twice in perpendicular directions to avoid skips.
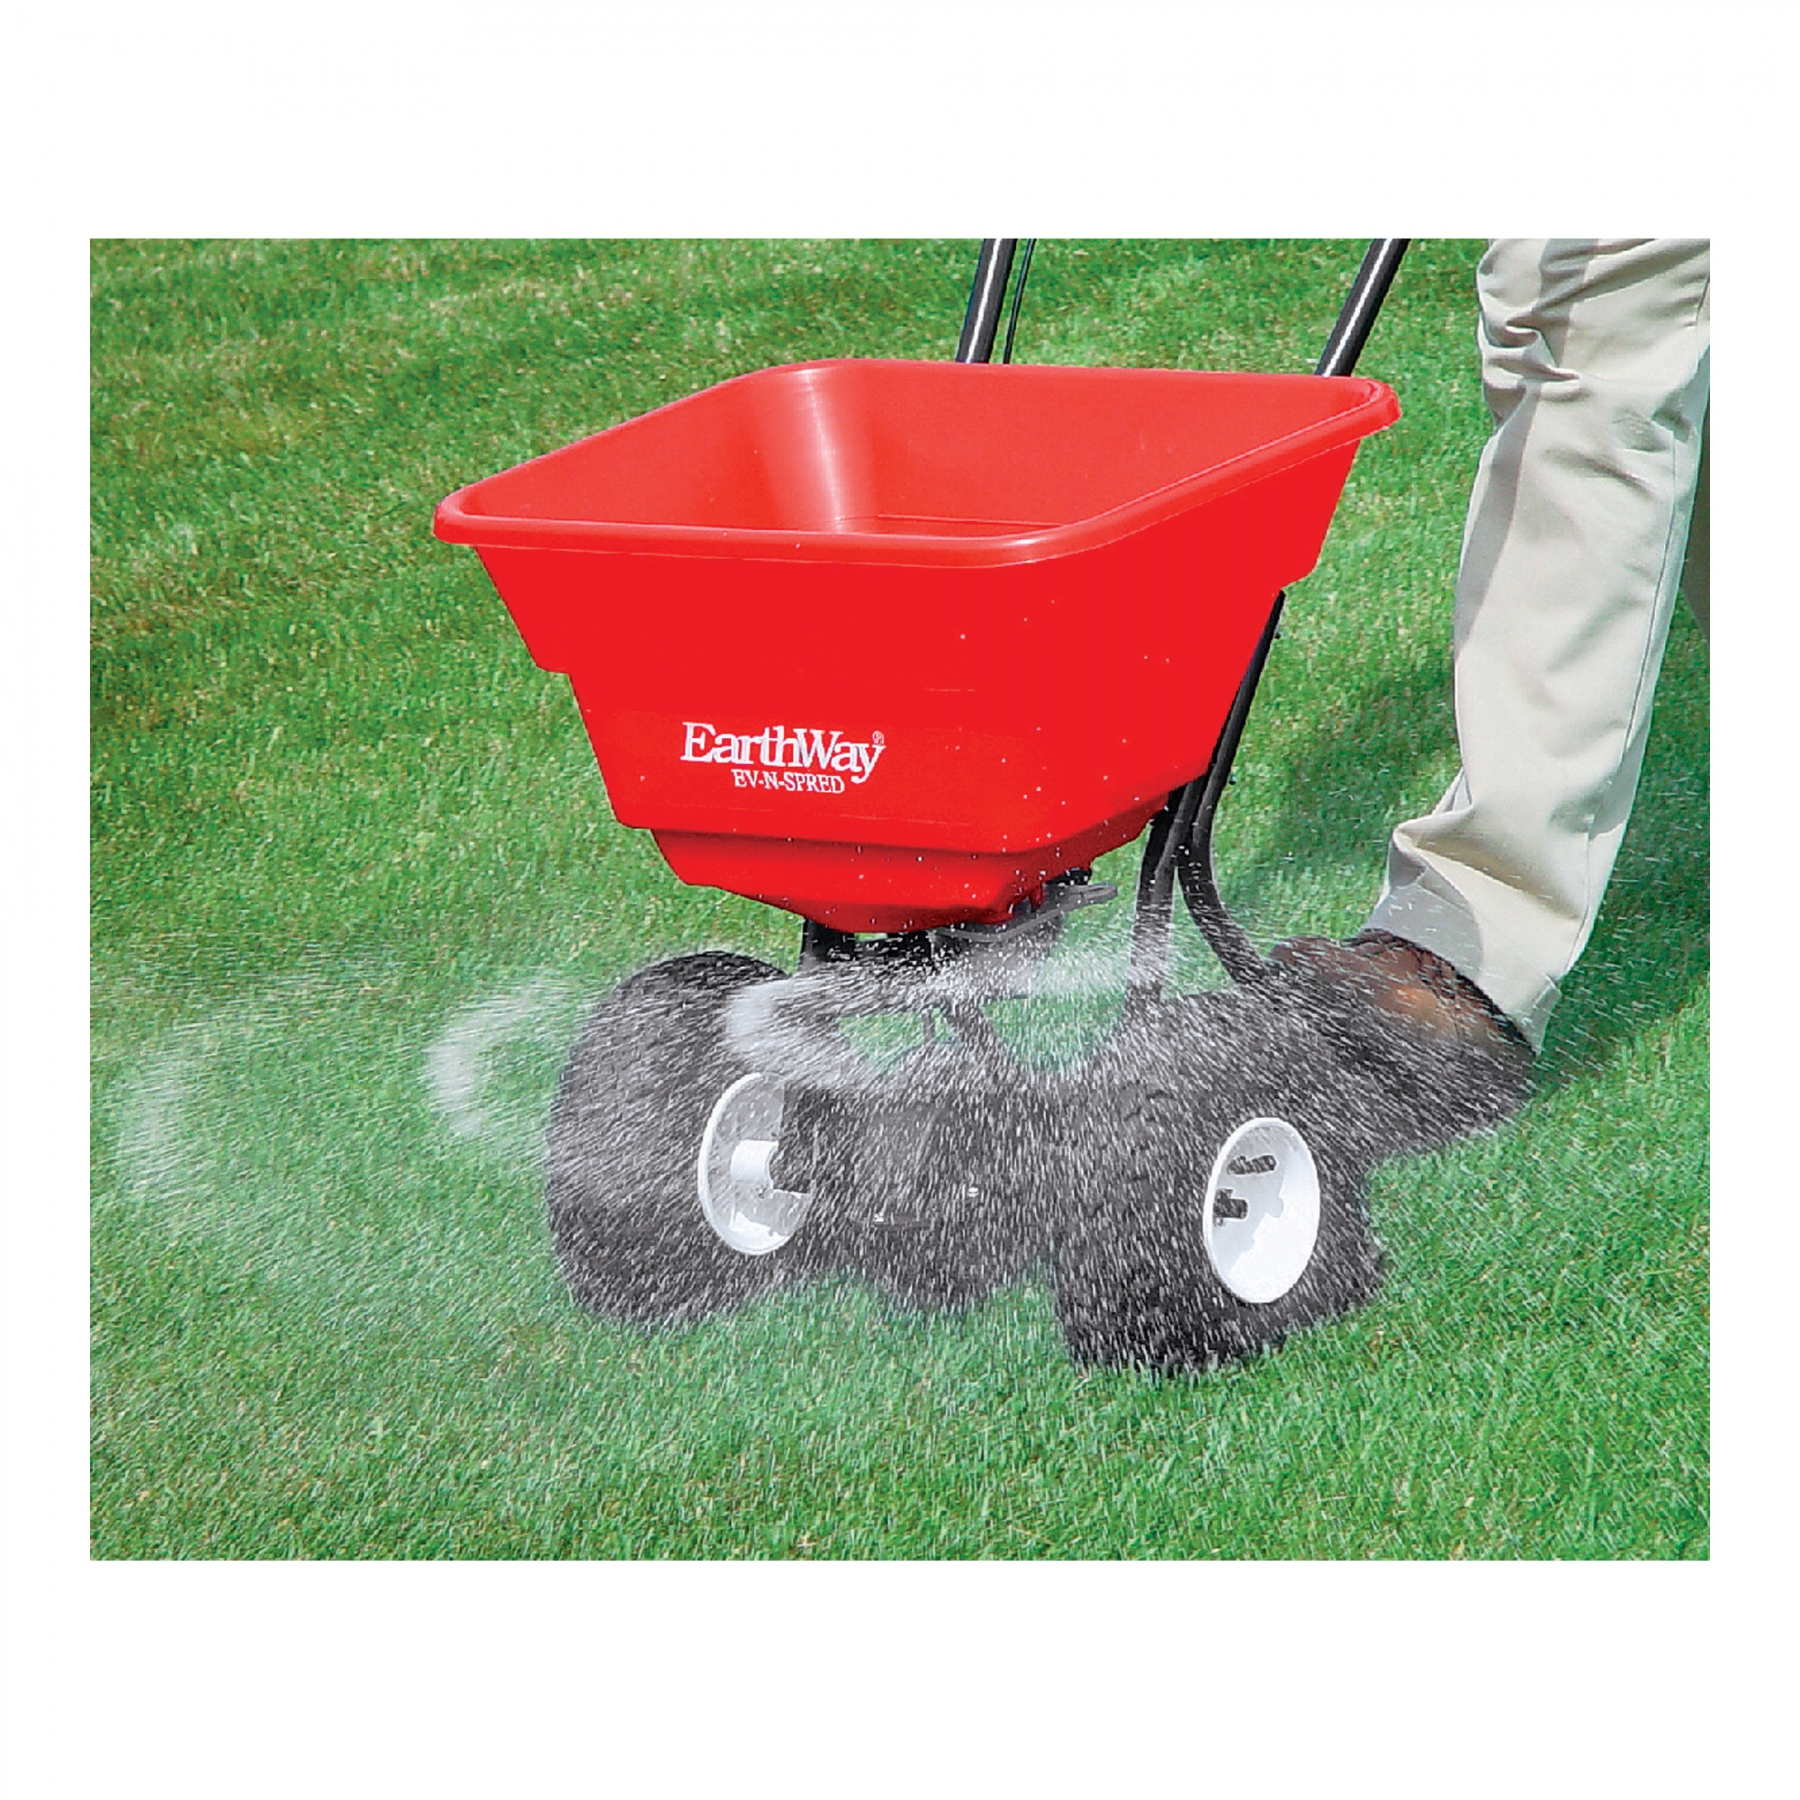
A broadcast spreader flings the seed or fertilizer out in front of the spreader wider than the wheels, thus covering more area per pass than a drop spreader.
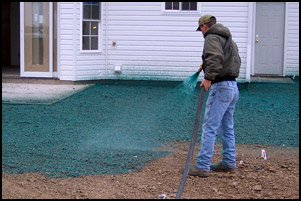
Hydroseeding delivers the seed in a slurry of water, mulch, and green dye.
*A word of caution about hydroseeding;
Hydroseeded lawns require more watering than other seeded lawns.
Hydroseeding places seed on top of the soil surface protected only by green mulch usually made of chopped-up newspaper. Because the seed is not incorporated into the soil, it is vulnerable to drying out and dying if not kept continuously moist until germination.
Seeding Technique
Divide your seed into two equal parts. Put the first part in your seeder and the second part in your garage. The idea is to seed your entire lawn with half your seed.
Set the seeder according to the calibration chart for the type of seed you are planting. If your seeder doesn't have a seeding chart, the best starting place is 20% open, 80% closed. For example if the seeder is calibrated from 1 to 20 with 20 being wide open, set it at 4, which is 20% of 20. As you spread seed across the lawn, watch how fast the seed is being used up. If it is going out too slowly, you can always cover the lawn a second time, possibly at a higher setting. If, on the other hand, it is going out too fast, stop and reduce the opening so you will not run out before covering the entire area.
Remember, when spreading seed, slow is good, fast is bad. The lawn will be there forever so it won't hurt to walk over the area a few extra times. Running out of seed before you cover your entire lawn means you can't finish the job until you obtain more seed.
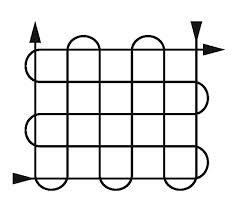
Once you have seeded your entire lawn with half your seed, reload the seeder with the other half. Seed the entire lawn again, this time walking at right angles to the direction of your first seeding pass.
For some extremely small seeds like bentgrass and centipedegrass it is difficult to set the seeder opening low enough to obtain the necessary seeding rate. It helps to mix the seed with dry sand. Be sure that the seed and sand are thoroughly mixed together to insure uniform seed distribution.
Add Fertilizer and Lime
Once the topsoil is spread and graded add fertilizer and lime as indicated by the soil test. If lime is needed, use a rototiller to mix it thoroughly in the top 3-5 inches of topsoil.
Starter fertilizer may be broadcast on the surface. When properly applied, fertilizer will not harm seed, even if they are in close contact in the soil.
Kinder Blend Starter Fertilizer 19-26-6 with 70% slow release nitrogen, applied at 5 lbs. per 1,000 sq feet is highly recommended because it's nitrogen is timed to release slowly as the seeds germinate, not in the first several days like most retail starter fertilizers.
Another starter fertilizer alternative is
Anderson's 21-22-04 Starter Fertilizer with Mesotrione (Tenacity) This combination product fertilizes the new lawn while killing crabgrass and broadleaf weeds such as dandelions and clover. Crabgrass prevention is particularly important in spring seedings where the crabgrass plants have a full growing season ahead before they die with the first fall frost. The active ingredient Mesotrione is for use on Kentucky bluegrass, tall fescue, fine fescue, and perennial ryegrass. It cannot be used on bentgrass, Bermudagrass, or Zoysiagrass.
Weeds are inevitable in a new lawn. They come with the topsoil which was originally in a farmers field where weed seeds are common. Dormant weed seeds are also deep down in your topsoil and they germinate when the soil is disturbed. Mesotrione will kill these weeds and so your new lawn is 100% pure inproved turfgrass plants
Incorporation

After spreading the seed and fertilizer, lightly rake the area with a leaf rake to bring seed into contact with the soil. A rule of thumb is that seed should be planted no deeper than 5 times its own diameter. For small seeds like bluegrass and bermudagrass, that means seed should be very near the surface. After light raking, you should still be able to see about 10% of the seed. If you can't see any seed, you have planted it too deep.
Roll
After lightly raking, roll the surface to firm the soil. This creates a bond between the seed and soil, which enhances the wick effect of water movement from soil particles to the seed.
Mulch
Spread mulch over the area. Mulch is important because it creates a barrier to hold in moisture and help prevent the seed from drying out between watering.
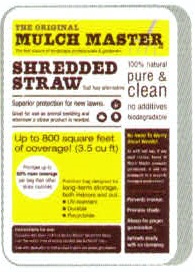 Mulch Master
 shredded straw is by far the best mulch. Spread one bale per 800 sq feet.
We do not recommend wheat, oat, or barley straw or hay bailed in the farmer's field because they often contain seed heads that will produce unwanted plants in your lawn.
When Mulch Master is properly spread you should be able look straight down and see through the straw to the topsoil. Do not put down so much mulch so that it completely covers the ground, thus choking out the turfgrass seedlings.
Peat moss or manufactured paper mulches such as Pennmulch are second-best substitutes for Mulch Master shredded straw.
Step 7: Water, Water, Water

Watering your newly seeded lawn is the
single most important thing you can do. Once an individual seed soaks up water for the first time, it must never be allowed to dry out prior to germination.
Water should be applied 3 times a day for 10 minutes each time. The best time is 10am, 2pm and 4pm. Do not allow puddles to form. Use a lawn sprinkler or in-ground irrigation. Hand watering will not work on a new lawn. No one has the patience to hand water an entire lawn for 10 minutes, three times a day. If you cannot be home during the day, apply water in the morning before work and immediately upon returning home after work. A properly mulched lawn should retain enough moisture to protect the seed during the day.
Continue to water the lawn daily until all the seed germinates. For a lawn mix containing both bluegrass and ryegrass, this could be as long as two weeks after the perennial ryegrass germinates.
Germination
Germination time varies by species and soil temperature. The colder the soil, the slower the germination. No germination will occur below 50 degree soil temperature.
Expected germination times with optimum soil temperature are:
|
Ryegrass |
7 days |
|
Tall fescue |
10 days |
|
Bermudagrass |
10 days |
|
Bentgrass |
10 days |
|
Buffalograss |
10-14 days |
|
Fine fescue |
14 days |
|
Bluegrass |
21-30 days |
|
Centipedegrass |
30 days |
|
Zoysiagrass |
30+ days |
Step: 8 First Mowing

Do not mow your new lawn until all the seed has germinated. For a cool season mixture containing bluegrass and ryegrass, keep in mind the bluegrass may germinate 2 weeks after the ryegrass.
Mow for the first time when the lawn is 1.5 times taller than the desired height. Set the mower for the desired height. For a typical cool season lawn this means you would mow when the grass is 3" high and set your mower to 2".
The lawn should be dry and firm when mowed for the first time. This protects new seedlings from being pulled up and prevents the spread of turf disease spores which are sometimes found on moist grass.